Hello Amy's Fashion Blog readers! I'm Crystal and I blog over at Put some Polish on It. Amy asked me to guest post on her blog while she's moving, and I was just honored. I have a flower tutorial to share with you today.
Here's what you'll need
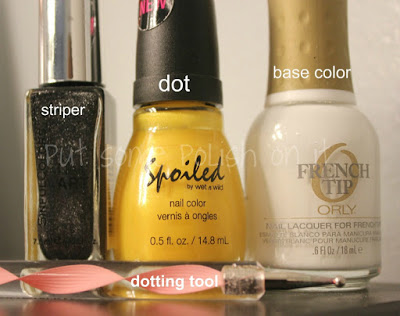
A striper or a small skinny brush, a base color, a color for the center of the flower, and a dotting tool.
Don't have a fancy dotting tool? No need. My first dotting tool was a stick pin pushed into the eraser end of a pencil. You can also use a bobby pin, toothpick, or the head of a writing pen.

1. start with 2 coats of the base color of your choice.
2. using the striper start a curved line from the tip of the corner of you nail to a little further than the middle
3. again use the striper only this time curve the start of the line away from the other line and then meet them together
4. repeat step 2 beside the other flower petal that you have just done
5. repeat step 3 curving the line away from and then meeting up to form a petal
6. repeat step 2 again but this time going out toward the skin side of your nail
7. repeat the curve back to form the petal but this one will be against the skin along the side of your nail
8. using the dotting tool add a dot to the center of the flower petals in that corner of your nail
The good thing about this flower is it doesn't have to be perfect!
Do a little clean up around your nails and then apply a top coat.
And there you have it the corner flowers!
Hope you enjoyed the tutorial. Thanks for reading!